Best practices for better training videos
If you create digital training content, you know that video is one of the most powerful formats for human learning.
As a sensory-rich medium that stimulates both auditory and visual senses, video is a dynamic and accessible tool to aid in the learning process.
Until virtual reality becomes an affordable solution, video is one of the best formats for self-paced learning on the internet.
This is especially true when you’re teaching customers how to use a software product.
Software training… That’s what I spend a fair chunk of my days thinking about. I’m currently on a team that creates training content and videos at Atlassian University. We train customers how to use software products like Jira, Confluence, and Trello.

Example of Atlassian University training content
From our research, we’ve found that many of our customers prefer to find ‘how to’ information on YouTube, so we’re leaning more heavily into scaling our video content. And we’re using Camtasia as our main tool for video editing and production.
Why use Camtasia for video editing?
TBH my favorite video editing tool is Premiere Pro. It’s professional, robust, and flexible. In Premiere, you can create any customization you wish.
But let’s be real, Adobe’s tools aren’t built for beginners. They don’t have the most intuitive interface and they require a significant ramp to learn.
That’s why Camtasia is the better tool to create software training videos for your customers. The tool provides a simple interface that allows you to create professional-level videos, without all the extra features. A few more reasons why it’s great:
- ✅ Built-in screen recorder, perfect to create software training
- ✅ Super easy to use, no need to be an expert video editor
- ✅ Drag-and-drop animations, making your editing more efficient
- ✅ Unique cursor effects, for cleaner and more accessible videos
If your customer education team is looking for a new tool to build training videos, Camtasia is definitely worth exploring. It’ll help reduce your maintenance and amount of time to build new training content.
11 Camtasia Editing Tips for Customer Training Videos
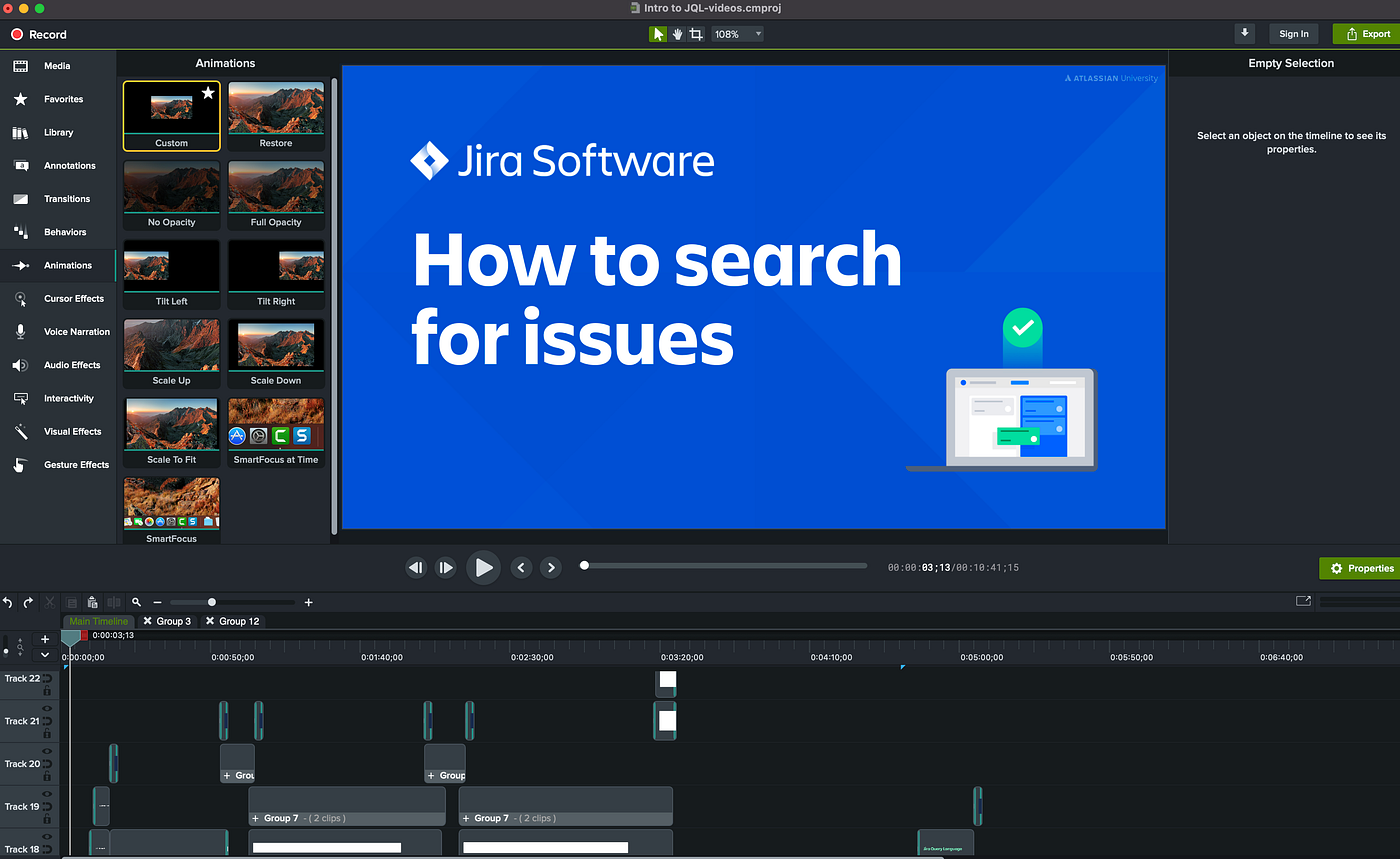
Before we get into the tips, let’s look at an example. The training video below was created using Camtasia. Watch the 2-minute video to give you an idea of the training output we’ll be discussing in the tips.
Okay, on to the tips. Note that the below is not a tutorial on how to get started using Camtasia for the first time. I assume you already know the basics of the tool. The tips below are to help you make your product training videos better.
1. Record your screen using Camtasia’s built-in tool

The built-in screen recorder is one of Camtasia’s best features. It allows you to A) record your screen, and B) edit your final videos, all in one tool. Efficiency plus!
The screen recorder is easy to use. If you’re on a Mac, a recording icon will be added on the right side of your top toolbar. It looks like this:

To start a recording, select the icon, then select ‘Start Recording.’ You can stop the recording by selecting the same toolbar icon. Once the recording is stopped, the newly recorded clip will be automatically added to your media library.
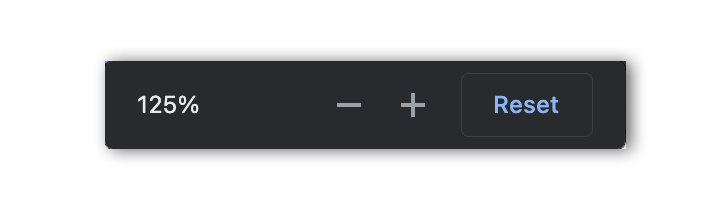
2. Before you record, zoom in to 125% on your browser
Okay, this tip isn’t really about Camtasia itself. But it will significantly improve your final edit.
One typical problem with training videos is that the recorded product UI is so small, that it’s difficult for learners to read and understand.
You can solve this by zooming in to at least 125% on your browser before you hit start recording your screen. Your goal with product training videos is to minimize the amount of wasted space on screen. Zooming in before you record helps learners have an optimal experience and better understand your product.
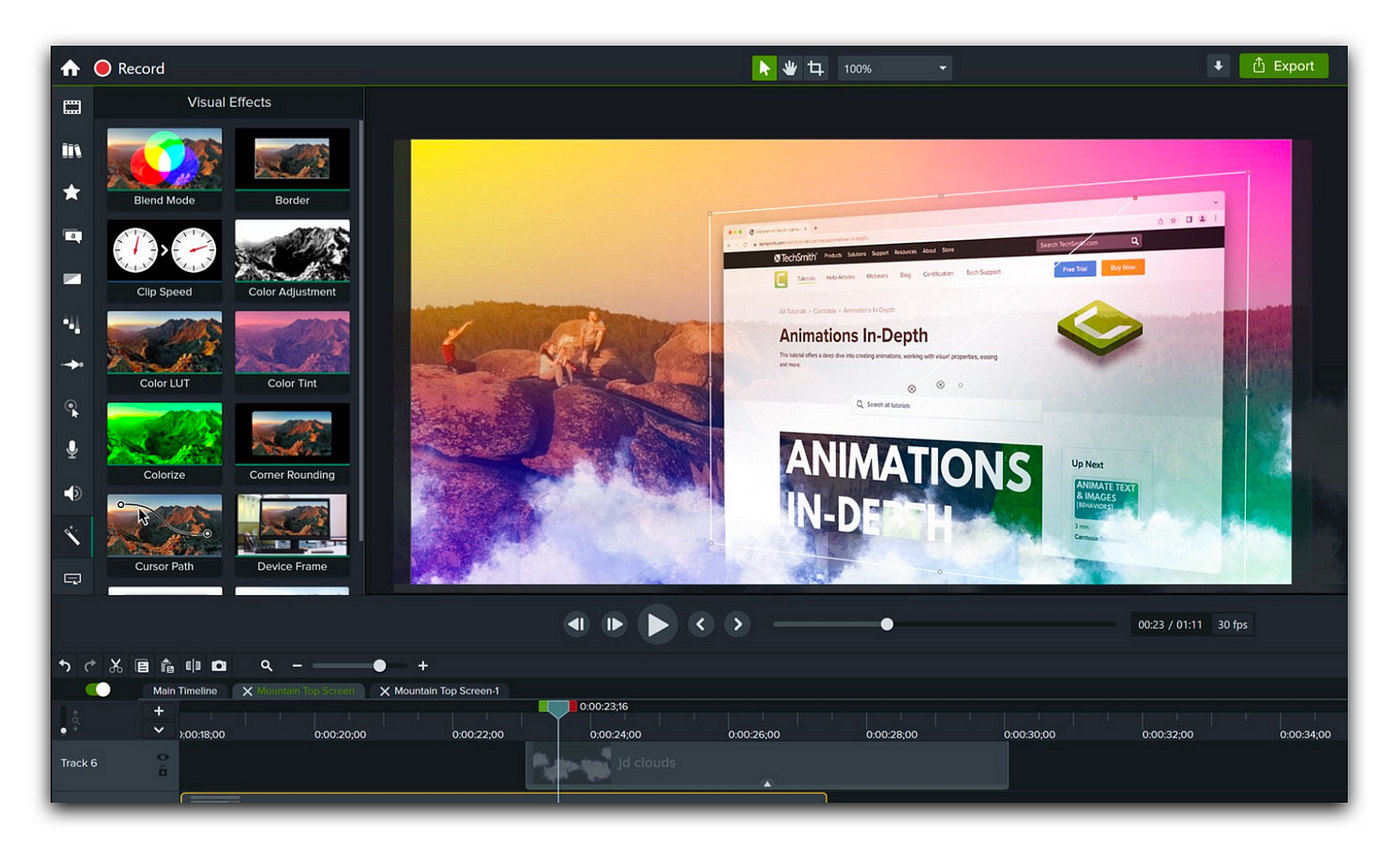
3. Use the Cursor Smoothing effect

When you record your screen to show product features, sometimes the cursor can seem to be moving erratically. Your mouse might jump from side to side very quickly, which can be distracting and overwhelming for your viewers.
Camtasia solves this with its “Cursor Smoothing” effect. This effect magically removes all erratic cursor movements, and instead, creates clean, smooth cursor movements. Cursor Smoothing is one of my favorite features to improve product training videos.
To add this effect, go to the side panel, and select ‘Cursor Effects.’ Then, drag ‘Cursor Smoothing’ on top of the desired clip in the timeline.
4. Add cursor click sounds
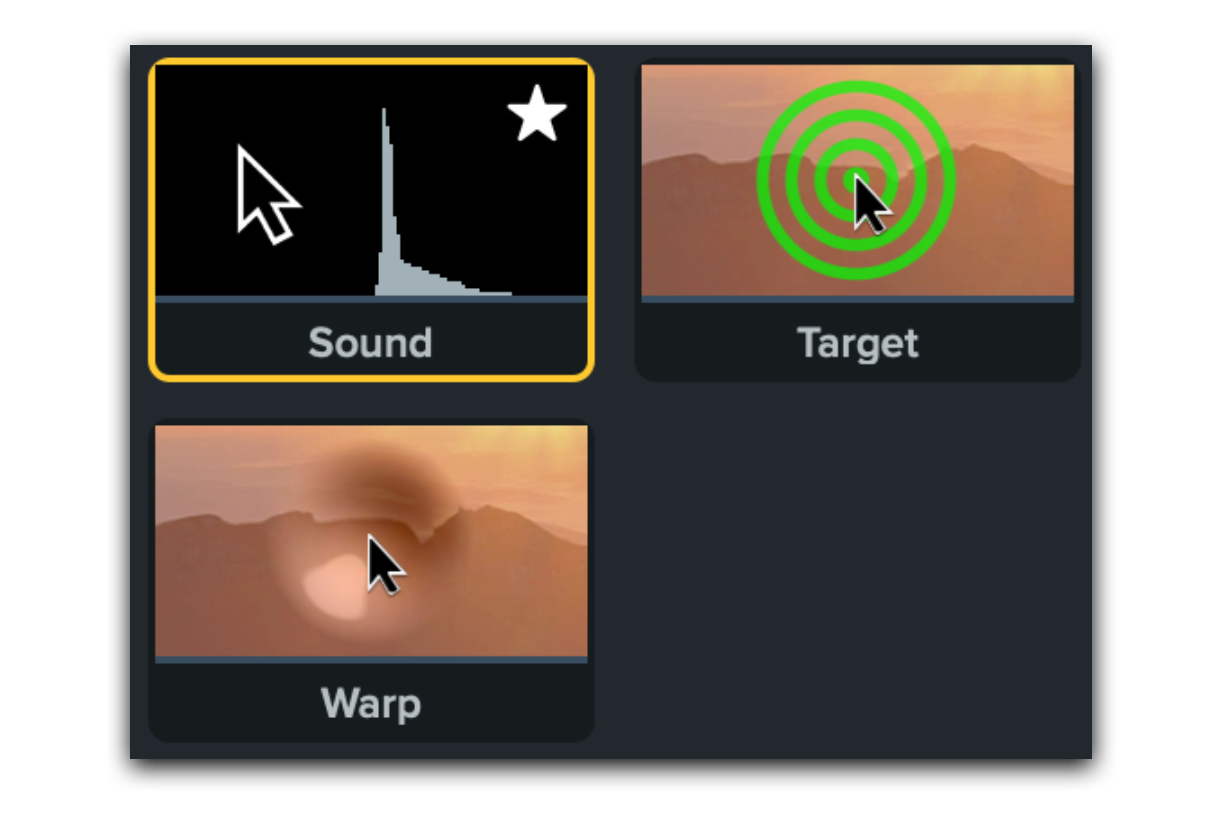
**This may seem trivial, but adding “clicking sounds” makes your training video more clear and understandable. **These sounds provide an auditory signal to learners about when and where they should be clicking.
Luckily, Camtasia has a built-in feature for this, so you don’t have to add click sounds in yourself.
In the side panel, select ‘Cursor Effects.’ Then, select the Left Click icon at the top of your screen. Drag ‘Sound’ on top of the desired clip in the timeline. This will add an authentic “click” sound to anywhere you clicked in your screen recording.
I typically turn the volume down to about 65%. The standard 100% feels like overkill.
5. Increase cursor size to 175%
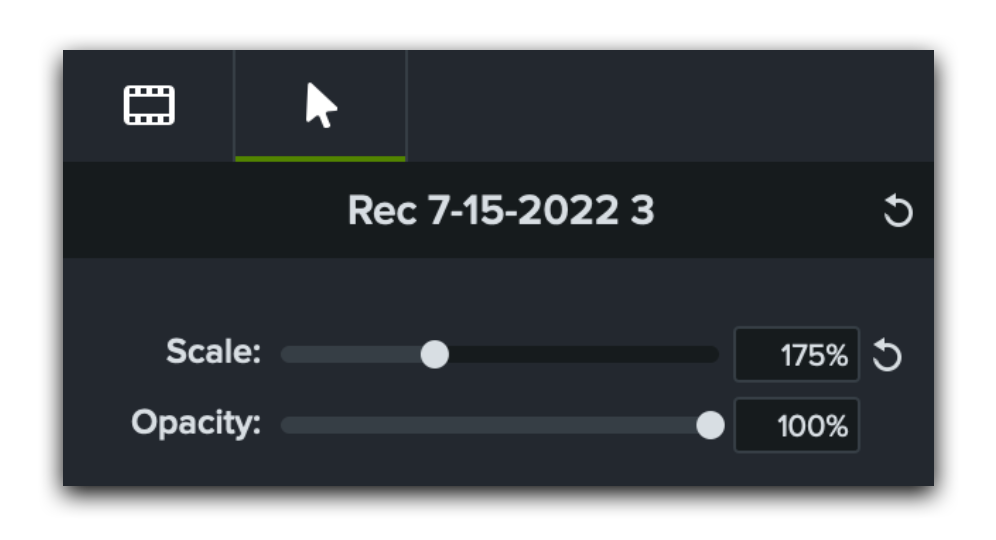
When you record your screen, the standard cursor size is often small and can be difficult to follow.
**Camtasia allows you to increase the cursor size up to 500%. **To increase your cursor size after you’ve recorded your screen, select your clip in the timeline. Then, navigate to the top right of your screen and select the cursor icon. Adjust the scale to 175% (or your preferred size).
Note: The maximum cursor size I suggest is 175%. Any larger than that and you’ll see heavy pixelation in the cursor. I find this distracting. Hopefully, Camtasia will fix this in the future by improving cursor resolution at scale.
6. “Stitch” clips together for more seamless video
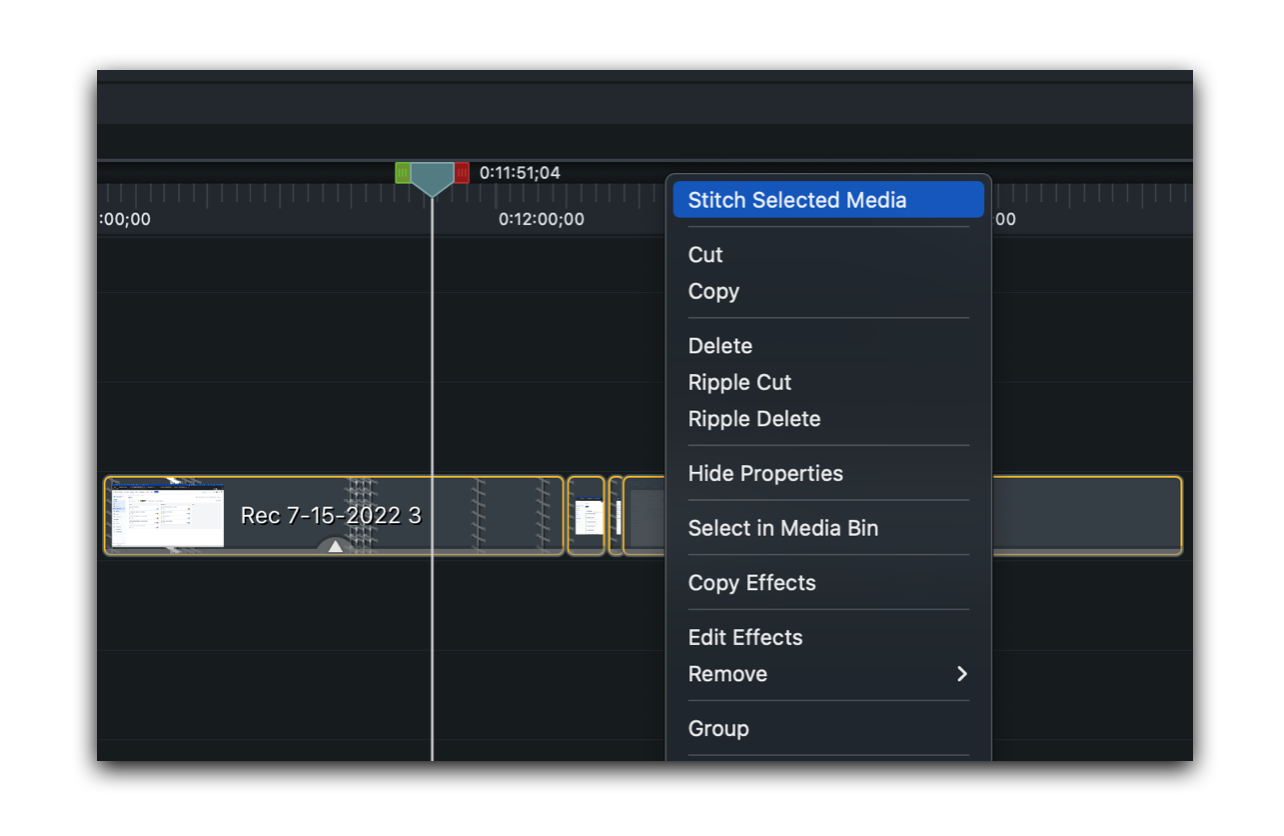
You will probably need to slice a screen capture clip to align with the voice over. Camtasia gives you the option to “stitch selected media” together, which makes the cursor movement seamless, even if the clip is sliced up.
7. Freeze and extend your video clips

In most video editing, your audio voiceover won’t match up perfectly with your screen recording. That means you’ll need to slice up your screen recording to better fit with the audio instructions.
One feature to help you with this is to freeze and extend your clips. This feature allows you to pause a clip at any specific point and extend that still frame however long in your timeline you desire.
To activate the freeze and extend feature, select the clip, hold ‘Option’ on your keyboard, and drag the end of the clip to your preferred length.
8. Use simple annotations to call attention to specific features
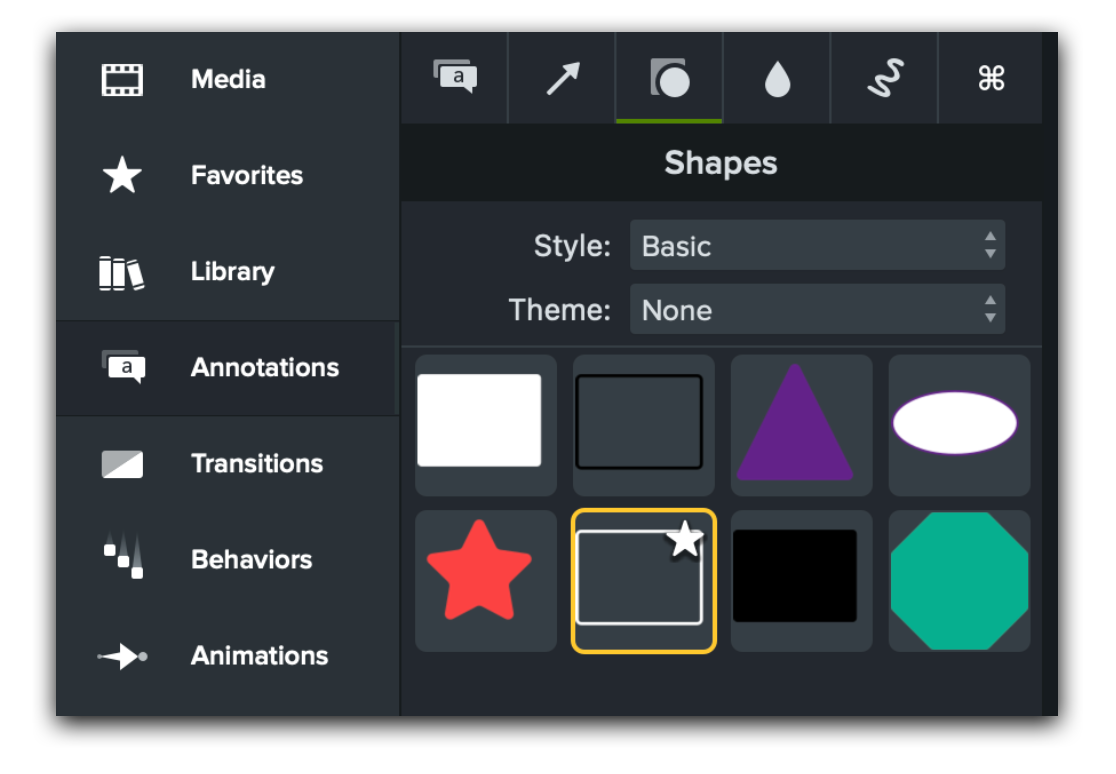
Camtasia has loads of built-in annotations. Be careful with these as it’s easy to overdo it, which can make your video more confusing.
My advice on annotations is to keep it simple and stay consistent. Pick one or two annotations that work best for your need and keep those consistent throughout all of your videos. In the example video above, you can see that all annotations are the same style and color. Simple and consistent.
You can access annotations in your sidebar by selecting** ‘Annotations,’** then choosing from the library of options. My go-to annotations are the box and highlight features.
9. Group clips together for easier editing
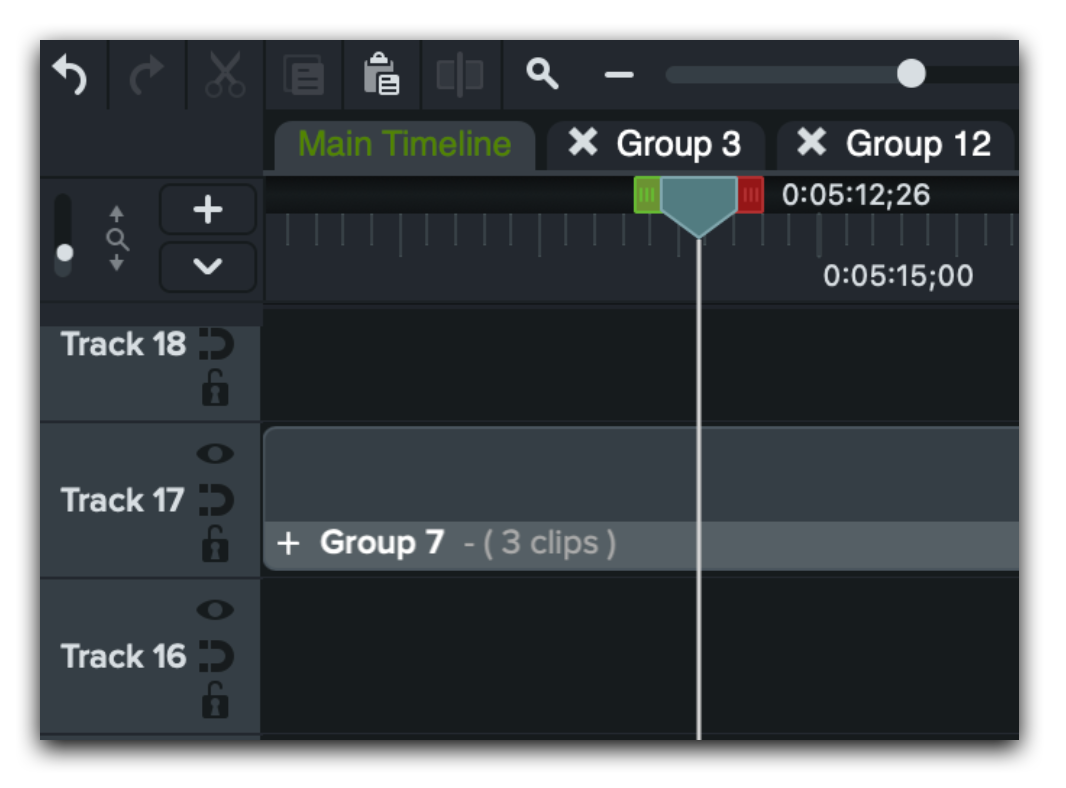
Groups are a great way to keep your video project organized. By grouping clips together, it’ll make it easier to add zooms, transitions, or other effects to multiple clips at one time.
To create a group, select multiple clips in the timeline and right-click. Then, select ‘Group.’
This adds all of the selected clips into a single package (in Premiere Pro, these are called a ‘nested sequence’). Double click on the group and you can edit any of the clips nested inside the group.
10. Use a simple ‘Fade’ for most transitions

Like annotations, transitions can also make your videos distracting and overwhelming if not selected carefully. And to be honest, most of Camtasia’s built-in transitions are a little cheesy and outdated.
I suggest you keep your transitions simple and go with ‘Fade’ on nearly everything. This will give your video a cleaner, more professional look, plus it’ll be more efficient to build.
To add transitions, go to the sidebar and select ‘Transitions.’ Then, select your transition (Fade!) and drag it on top of your desired clip in the timeline. Remember, you can also add transitions to groups if you’ve nested multiple clips together.
11. Use custom animations to zoom-in on the product UI
Zooming in on important features is a must for software training videos. Remember that your audience is probably watching these videos on a small screen. If you want to call attention to a specific button, you’re probably going to need to zoom in to help your learners better see and understand.
There are a few ways to zoom in with Camtasia, but I’ve found the most effective way is to add a “custom animation” to your clip.
To add a zoom, select ‘Animations’ in the left panel. Then, drag ‘Custom’ on top of your desired clip or group in the timeline. This will add an arrow icon on top of your clip, that looks like this:
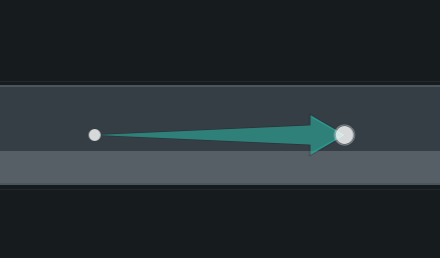
Select this arrow. The white circles on the arrow represent the start and end of your animation. To add a zoom, select the end circle so it’s highlighted in red. Then, use the panel in the top right corner to adjust the scale and X/Y position.
Play the video back in the timeline to make sure your zoom looks good. This process of adding a ‘custom animation’ takes a little practice, but you’ll get the hang of it after a few tries. Especially if you’ve built more complex animations in Premiere Pro or After Effects.
My pro tip is to only use the zoom feature when it’s absolutely necessary. You don’t need to zoom in on every single button. Prioritize the most important information for your learners to know, and zoom in on that.
12. Create a template to speed up future videos
When you edit a video from scratch, it’s a lot of work. You need to think about branding, title cards, intro/outro bumpers, transitions, colors.
My advice is to create an excellent video from the start, so you can use that file as a template for future videos. Put in the extra work up front to make sure all the brand-level visuals are sharp and your intro/outro bumpers are polished.
Once you have a solid video template, share the file with your teammates so you’re all building similar style training videos.
I hope you’ve found these tips valuable for creating more effective training videos. If you’re curious to learn more, explore more Camtasia tutorials here and see what other creative solutions you find.
If you find any helpful features I missed here, please share them in a comment. I’d love to learn from you.
Happy creating. 🎉
Bio
I’m Andrew DeBell and I create content that helps sell products and educate customers. My projects span content marketing, video creation, writing, and learning design.
👉 Follow me on Linkedin and Medium to stay up on the latest.